
만족
[Android] Material Chip 컴포넌트 사용하기 본문
[Android] Material Chip 컴포넌트 사용하기
FrontEnd/Android Satisfaction 2022. 4. 11. 02:12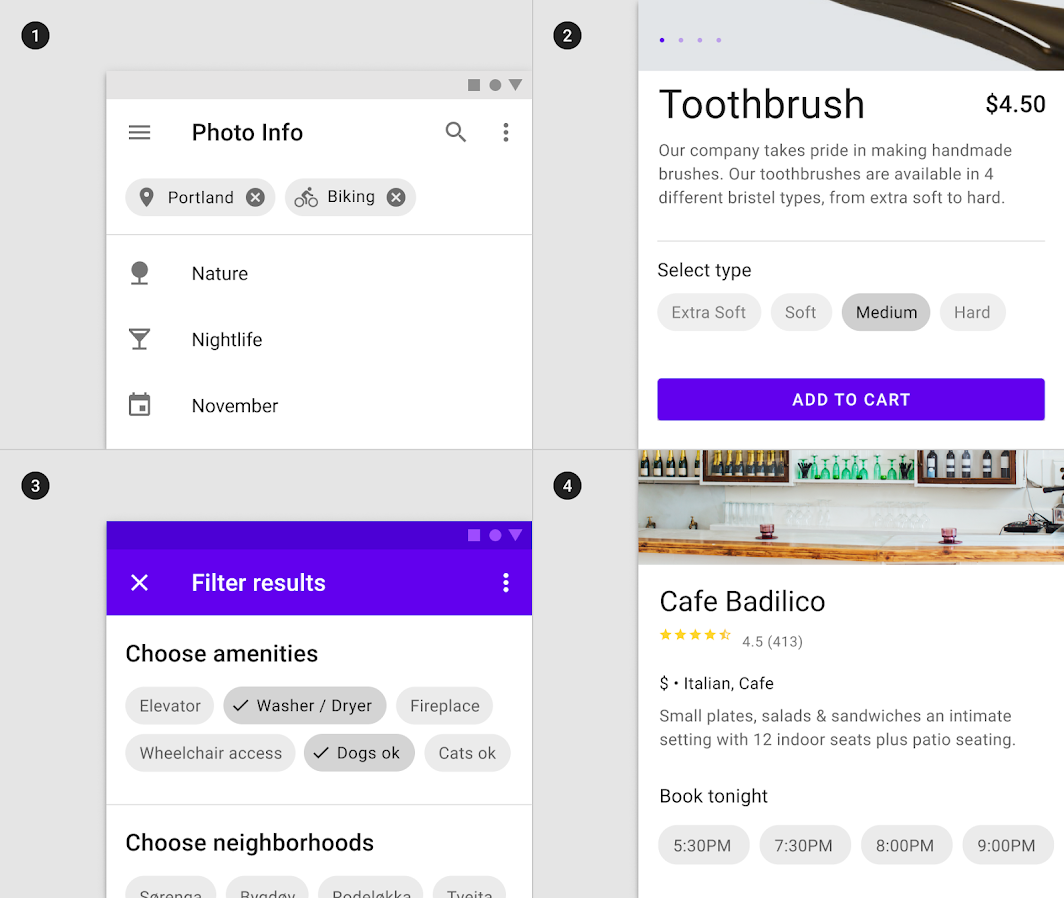
android의 공식 UI 라이브러리를 사용해 Chip 컴포넌트를 화면에 그려보자.
해당 라이브러리에는 다양한 UI 컴포넌트가 존재하지만, 이번에는 Chip 을 사용해 볼 것이다.
물론 내가 지금 필요한게 Chip이라서 그렇기도 하다 ㅎㅎ;
설치
implementation 'com.android.support:design:30.0.0'build.gradle 에 다음을 추가한다.
단 버전은 targetSDKVersion 값을 참조해서 지정한다
(targetSDKVersion 29버전을 사용중이라면, 29.x.y 처럼 29버전을 사용한다)
사용: Chip
<?xml version="1.0" encoding="utf-8"?>
<LinearLayout
    xmlns:android="http://schemas.android.com/apk/res/android"
    android:layout_width="match_parent"
    android:layout_height="match_parent"
    android:orientation="vertical">
    <com.google.android.material.chip.Chip
        android:text="감자칩"
        android:layout_width="wrap_content"
        android:layout_height="wrap_content"/>
</LinearLayout>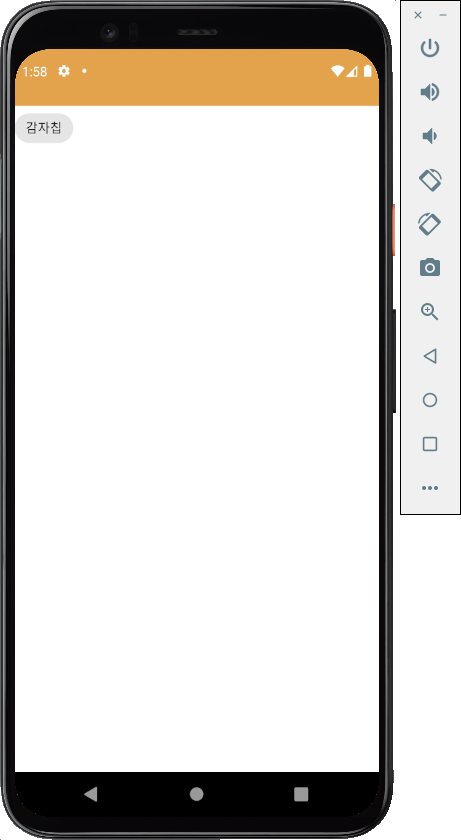
아주 간단하게 Chip 컴포넌트가 추가되었다.
물론 터치했을 때의 rippleEffect도 적용되어 있다.
닫기 버튼은 closeIconEnabled 속성을 추가함으로써 손쉽게 붙일 수 있다.
<?xml version="1.0" encoding="utf-8"?>
<LinearLayout xmlns:android="http://schemas.android.com/apk/res/android"
    android:layout_width="match_parent"
    android:layout_height="match_parent"
    xmlns:app="http://schemas.android.com/apk/res-auto"
    android:orientation="vertical">
    <com.google.android.material.chip.Chip
        android:text="감자칩"
        app:closeIconEnabled="true"
        android:layout_width="wrap_content"
        android:layout_height="wrap_content"/>
</LinearLayout>
Chip, CloseIcon 터치에 대한 이벤트 리스너도 부착할 수 있다.
<?xml version="1.0" encoding="utf-8"?>
<LinearLayout xmlns:android="http://schemas.android.com/apk/res/android"
    android:layout_width="match_parent"
    android:layout_height="match_parent"
    xmlns:app="http://schemas.android.com/apk/res-auto"
    android:orientation="vertical">
    <com.google.android.material.chip.Chip
        android:id="@+id/potatoChip"
        android:text="감자칩"
        app:closeIconEnabled="true"
        android:layout_width="wrap_content"
        android:layout_height="wrap_content"/>
</LinearLayout>
package kr.co.dothome.whenever.cyphersapp.ui.activity
import android.os.Bundle
import android.widget.Toast
import androidx.fragment.app.FragmentActivity
import kr.co.dothome.whenever.cyphersapp.databinding.ActivityLabBinding
class LabActivity : FragmentActivity() {
private lateinit var binding: ActivityLabBinding
override fun onCreate(savedInstanceState: Bundle?) {
super.onCreate(savedInstanceState)
binding= ActivityLabBinding.inflate(layoutInflater)
setContentView(binding.root)
binding.apply{
//Chip 터치 시
potatoChip.setOnClickListener {
Toast.makeText(this@LabActivity, "Chip 터치", Toast.LENGTH_SHORT).show()
}
//닫기 아이콘 터치 시
potatoChip.setOnCloseIconClickListener {
Toast.makeText(this@LabActivity, "닫기 터치", Toast.LENGTH_SHORT).show()
}
}
}
}

당연하게도 직접 바닥부터 하나하나 짜는 것 보다 훨씬 편하게 옵션 구현이 가능하다.
사용: 여러 개의 Chip을 감싸는 부모 컴포넌트
여러 개의 Chip을 사용할 때, 개행이나 여백 문제로 조금 귀찮아진다.
FlexboxContainer를 사용하는 방법도 있겠지만,
이 문제를 해결해주는 컴포넌트도 동시에 제공되고 있다.

LinearLayout 에 Chip을 그냥 때려박은 모습이다.
자동 개행도 되지 않아서 마지막 Chip이 뭉개져 있고, 좌우여백도 적용되어 있지 않아 못생겼다.
<?xml version="1.0" encoding="utf-8"?>
<LinearLayout xmlns:android="http://schemas.android.com/apk/res/android"
    android:layout_width="match_parent"
    android:layout_height="match_parent"
    xmlns:app="http://schemas.android.com/apk/res-auto"
    android:orientation="horizontal">
    <com.google.android.material.chip.ChipGroup
        android:layout_width="match_parent"
        android:layout_height="wrap_content"
        app:chipSpacingHorizontal="8dp">
        <com.google.android.material.chip.Chip
            android:id="@+id/potatoChip"
            android:text="감자칩"
            app:closeIconEnabled="true"
            android:layout_width="wrap_content"
            android:layout_height="wrap_content"/>
        <com.google.android.material.chip.Chip
            android:text="감자칩"
            app:closeIconEnabled="true"
            android:layout_width="wrap_content"
            android:layout_height="wrap_content"/>
        <com.google.android.material.chip.Chip
            android:text="감자칩"
            app:closeIconEnabled="true"
            android:layout_width="wrap_content"
            android:layout_height="wrap_content"/>
        <com.google.android.material.chip.Chip
            android:text="감자칩"
            app:closeIconEnabled="true"
            android:layout_width="wrap_content"
            android:layout_height="wrap_content"/>
        <com.google.android.material.chip.Chip
            android:text="감자칩"
            app:closeIconEnabled="true"
            android:layout_width="wrap_content"
            android:layout_height="wrap_content"/>
    </com.google.android.material.chip.ChipGroup>
</LinearLayout>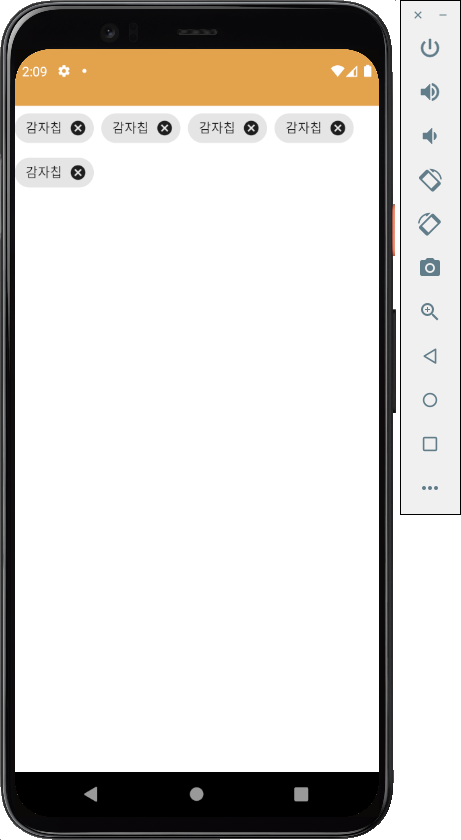
ChipGroup을 사용하면 자동 개행이 적용되고, 여백(spacing)을 한 번에 조정할 수도 있다.
https://material.io/components/chips/android#action-chip
Material Design
Build beautiful, usable products faster. Material Design is an adaptable system—backed by open-source code—that helps teams build high quality digital experiences.
material.io
위 링크에서 조금만 스크롤하면 Container Attribute 섹션이 보이는데,
거기에서 더 많은 attribute 설명을 확인할 수 있으니 읽어보길 바란다.
글의 처음에서 밝혔듯이, com.android.support:design 에서는 Chip 외에도 다양한 UI를 제공하니
시간날 때 한 번 둘러보면 나처럼 바퀴를 재발명하지 않을 것이다...
'FrontEnd > Android' 카테고리의 다른 글
| [Android] 업데이트 제출을 위한 targetSDK 31이상(33) 업데이트와 관련 오류 수정 (0) | 2022.12.12 |
|---|---|
| [Android] github action을 이용한 플레이스토어 앱 자동 배포하기 (0) | 2022.11.07 |
| [Android] elevation을 설정했음에도 그림자(shadow)가 표시되지 않는 문제 (1) | 2022.04.10 |
| [Android] 웹뷰 앱 제출 시 주의사항 (개발자 프로그램 정책 위반) (0) | 2021.07.16 |
| [Android] TextView에 부분 폰트 스타일 적용하기 (0) | 2021.07.05 |


